
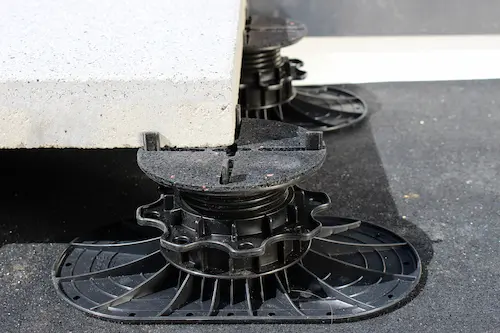
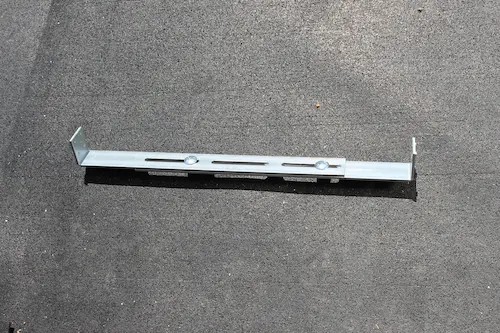
Zinco Elefeet variable distance holder for connecting rails, 350-625 mm
For the manufacturer of axial dimensions from 350-625mm.
variable distance holder for axial dimensions from 350 - 625 mm, width approx. 30 mm for Zinco support rail, galvanized steel material; with special studs for anti-twist-protection; pack of 10 pairs of L-brackets, 20 flange bolts M5 and 20 flange nuts / locking nuts M5; incl. TX 25 screws for fastening to the rail
| Order Nr.: | 960045 |
|---|---|
| Material: | Galvanized steel |
| Length [mm]: | 350,0 |
| Width [mm]: | 30,0 |
| Packaging unit: | Pack |
| Weight [kg]: | 4.5 (total) |
| Additional information: | Variable distance holder for axial dimensions from 350-625 mm; with special studs for anti-twist-protection; pack with 10 pairs of L-brackets, 20 carriage bolts M5 and 20 flange nuts / locking nuts M5; incl. TX 25 bolts |
Variable distance holder for connecting the Zinco Elefeet® support rails with axial dimensions 350 - 625 mm, width 30 mm, material: galvanized steel; with special studs for anti-twist-protection, incl. TX 25 screws, maximum tightening torque 6 Nm, supply and install professionally.
Make: Zinco "Elefeet® variable distance holder"
Unit: pcs
Order Nr.: 960045
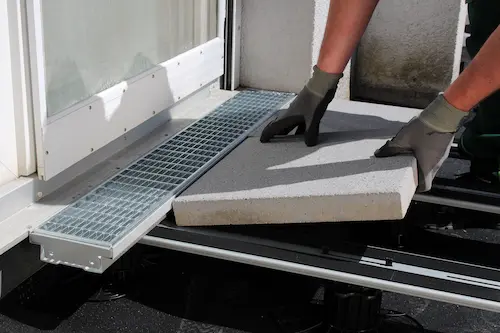
Part 2: for Elefeet® rail system (concrete slab)
Part 3: for Elefeet® rail system (timber deck)
Part 1: for Pedestals Elefeet® (concrete slab):
These Installation Instructions describe the essential steps for using these products. Please also observe the relevant standards and guidelines, in particular the occupational health and safety regulations.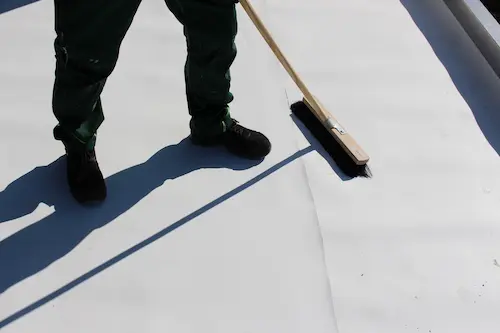
Clean the surface.
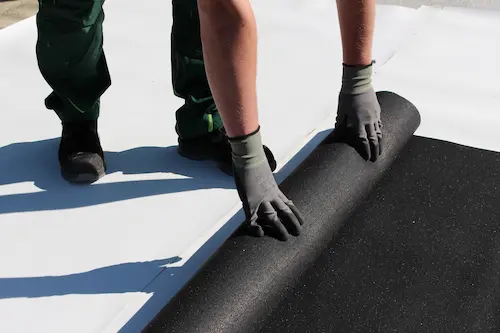
Lay out Elastosave ES 30 with approx. 50 mm overlapping; do not cut the waterproofing / sealing.
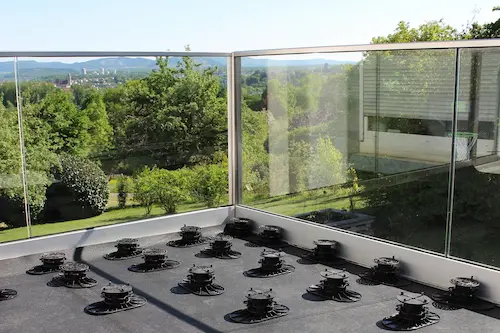
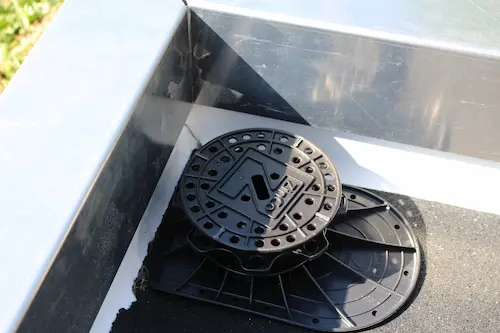
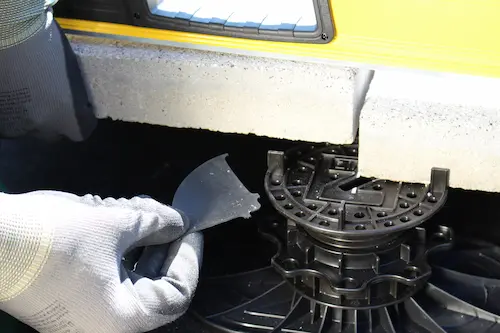
Before laying out the Pedestals Elefeet®, pre-set the height coarse.
Install accessories depending on the edge situation.
Use edge retainer supports for whole slabs or cut to size > 250 mm.
Use Cantilever arms in front of thresholds or when laying a gutter / trench drain. A pedestal support should be placed in the area of a slab joint.

Use mitre cut supports and edge supports for diagonal installation, sloping wall connections or gutters / drains. Use additional Tile Spacers when removing joint dividers from Pedestals Elefeet®.
For additional protection of the front wall / facade or waterproofing / sealing, an edge protector can be placed on the fold-up / upstand of the accessories.
Buffer Pads can be used for acoustic optimization; Buffer Pads should always be used for thin slabs(< 35 mm).
Notice:
- The Elastosave ES 30 with a low 3 mm, minimizes the "trampoline effect" (which should be avoided according to the FLL), but still protects the waterproofing / sealing and reduces the impact sound.
- As an alternative to the edge protection, lay the Elastosave ES 30 protective mat up to the top edge of the covering to prevent damage to the waterproofing / sealing.
- In the case of plastic waterproofing, check whether it is compatible with rubber (this is usually the case with membranes compatible with bitumen). If not, an additional separation layer (Zinco TGF 20) is required.
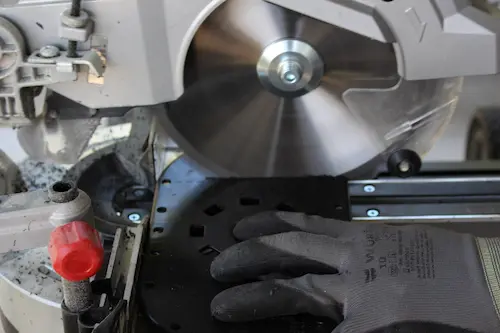
- If necessary, cut Pedestals Elefeet® at the marking on the underside of the base plate.
- A strip of Elastosave ES 30 can be placed underneath if the waterproofing / sealing is uneven.
- If the Cantilever arm or mitre bracket is cut to size before installation, the cut must be professionally re-galvanized
Tips for installation:
Pedestals Elefeet® on the dotted line Caps...
... to get as far into the corner as possible.
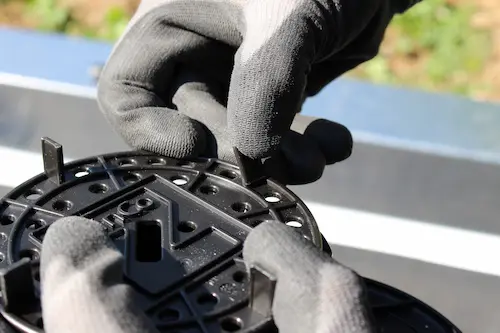
If necessary, score the joint dividers with a knife and break them off.

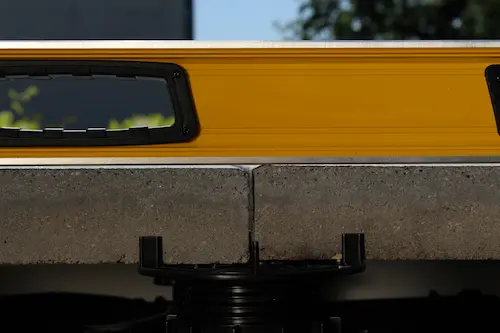
Align the flooring with a spirit level or a setting rod.
In the event of irregularities or tilting of individual slabs...
... a 1 mm Adjusting ring can be placed under the corresponding corner.

If the substrate is uneven due to joints in the waterproofing / sealing or similar, place strips of Elastosave ES 30 underneath.
Due to the shape of the Terrace grill TR, additional Tile Spacers are required at the corners.
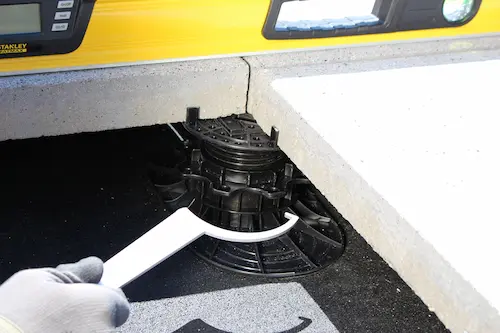
With the adjusting tool for Elefeet®, the height can be readjusted with little effort, even with some load.
Part 2: for Elefeet® rail system (concrete slab):
Clean the surface.
Lay out Elastosave ES 30 with approx. 50 mm overlapping; do not cut on the waterproofing / sealing.

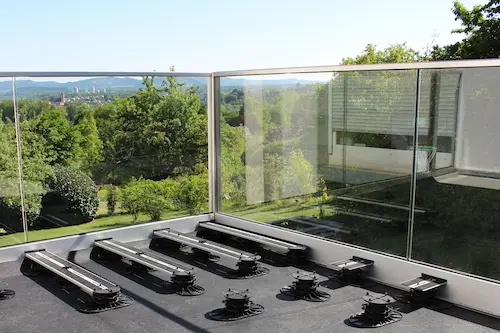
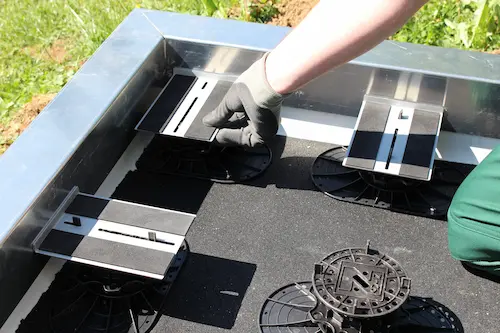
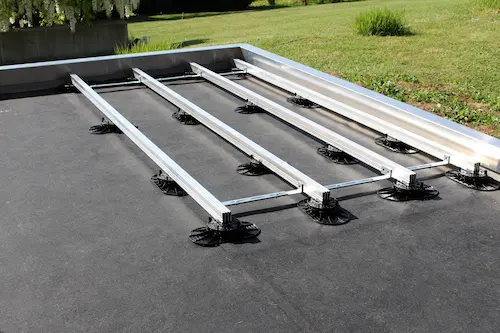
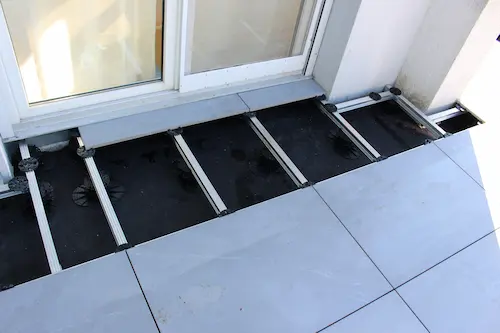
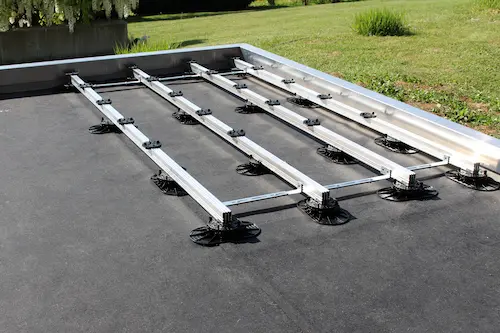
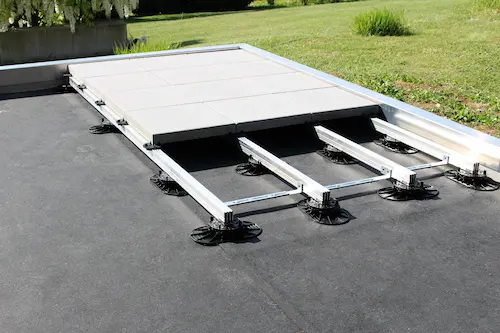
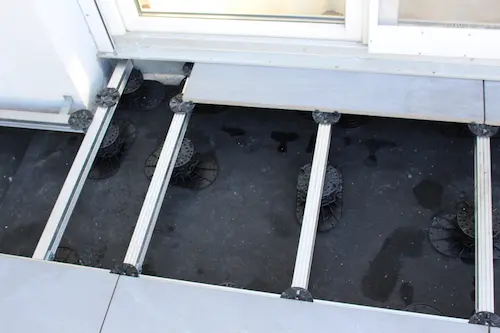
Lay out the support rails and Pedestals Elefeet® coarse.
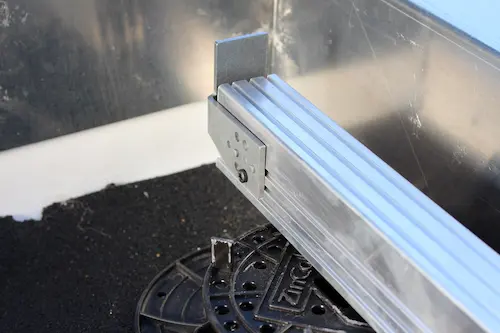
Attach the edge retainer support at the end of the rail, take reference from it and measure the edge retainer S-angle laterally to the slab dimensions + joint. Attach the first edge retainer support S-angle after approx. 120 mm.
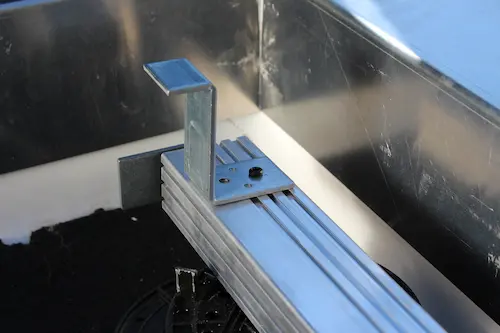
Distance = tray size + joint
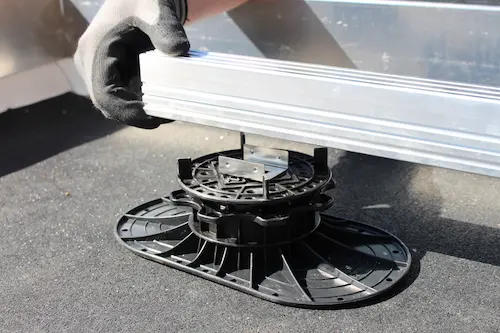
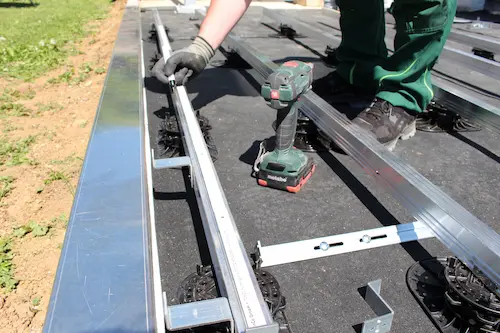
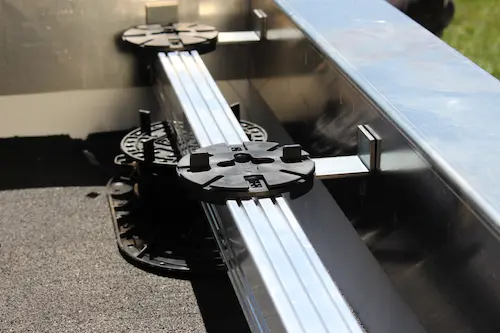
Align Pedestals Elefeet® and lay at the maximum prescribed spacing (see Table 1). Attach Pedestals Elefeet® and rails using fixing clamps approx. 2 - 3 per rail as an assembly aid.
| Center distance Rail | Support rail 34 x 34 mm | Support rail 34 x 43 mm |
| 600 mm | 600 mm | 700 mm |
| 500 mm | 600 mm | 750 mm |
| 400 mm | 600 mm | 800 mm |
| 300 mm | 600 mm | 850 mm |
| Overhang Rail * | 200 mm | 400 mm |
* over last pedestal bearing in the edge area
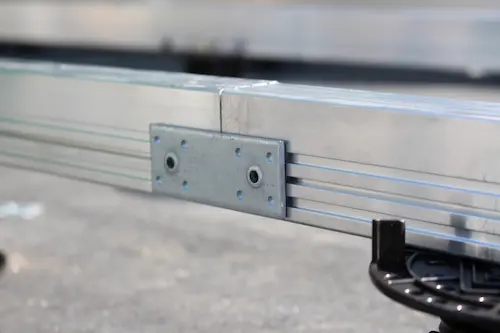
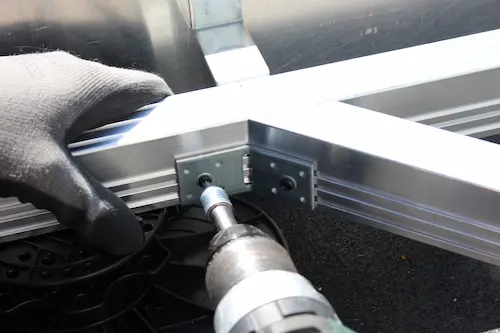
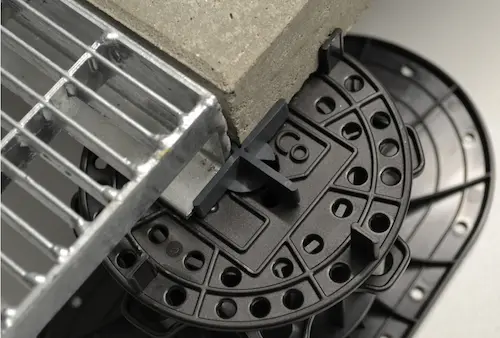
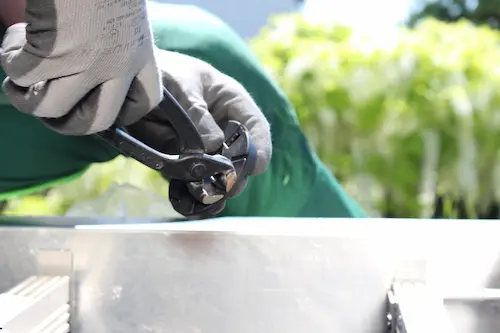
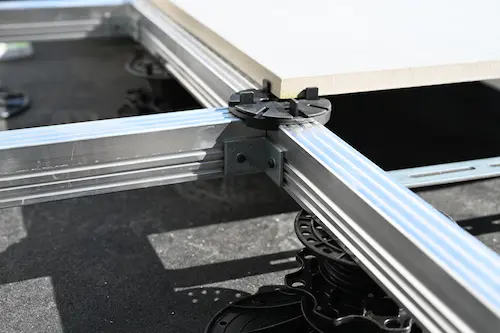
Attach Profile Connector longitudinally on both sides, bend Profile Connector variably with two pliers to the required angle.
Notice:
- The Elastosave ES 30 with a low 3 mm minimizes the "trampoline effect" (which should be avoided according to the FLL), but still protects the waterproofing / sealing and reduces the impact sound.
- Lay the Elastosave ES 30 protective mat up to the top edge of the covering to prevent damage to the waterproofing / sealing.
- In the case of plastic waterproofing, check whether it is compatible with rubber (this is usually the case with membranes compatible with bitumen). If not, an additional separation layer (Zinco TGF 20) is required.
- Pedestals Elefeet® can be cut off at the marking on the underside of the base plate if necessary.
- A strip of Elastosave ES 30 can be placed underneath if the waterproofing / sealing is uneven.
- Apply the screws straight and with pressure to avoid "spinning" (tightening torque max. 6Nm)
Variable distance holders for concrete slabs, can be readjusted if the boards are inaccurate. 300, 400, 500 and 600 distance holders are used for timber decks.

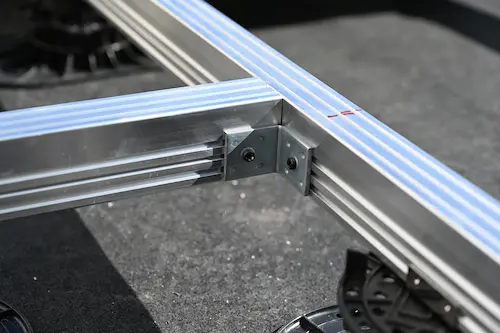
Install Profile Connector 90°-Corner and ensure that the angle is flush with the end of the rail.
This makes it easy to create any floor plan shape.
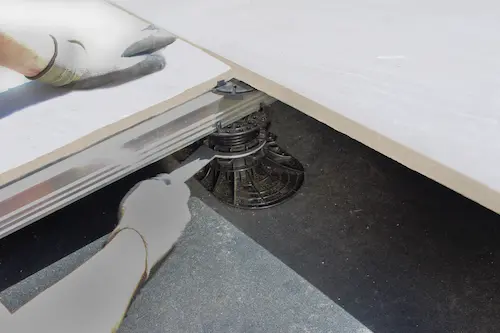
Remove the joint dividers from the support plates if necessary. Screw fixing in the edge area or on sections with heavy foot traffic.

Lay the slabs; if the slab thickness is irregular, this can be balanced / well-balanced by using an Adjusting ring or readjusting an Pedestals Elefeet®.
Tips for laying
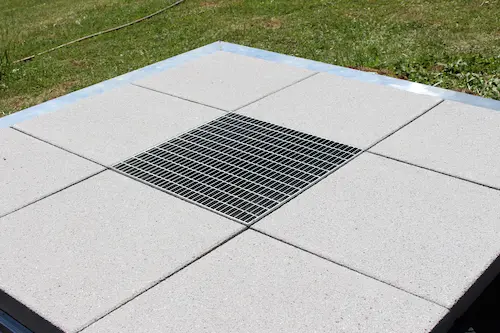
Additional Tile Spacers are required when laying a Terrace grill.
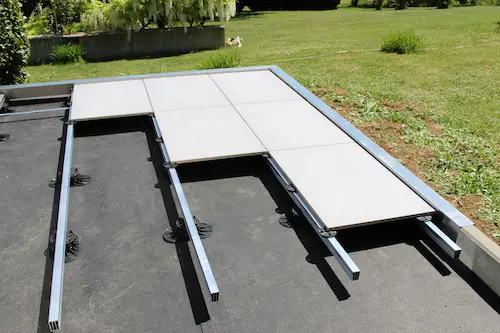
Several support points possible with porcelain stoneware patio slabs or a stretcher bond with a small number of pedestals.
To form a stable threshold, the rail is laid perpendicular (at least one slab width) to the threshold.
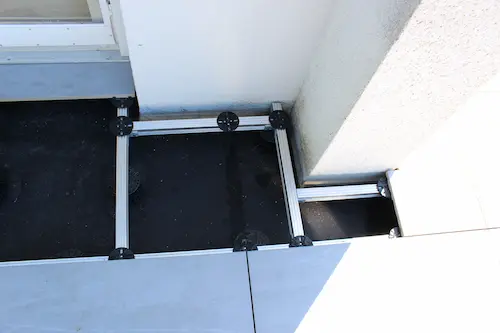
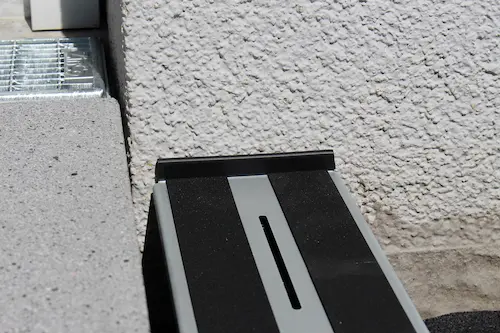
Even complicated corners can be solved using the connectors. The distance from the rail to the wall should not be less than 30 mm or 60 mm with edge retainer support.
With the adjusting tool for Elefeet®, the height can be readjusted with little effort, even with some load.
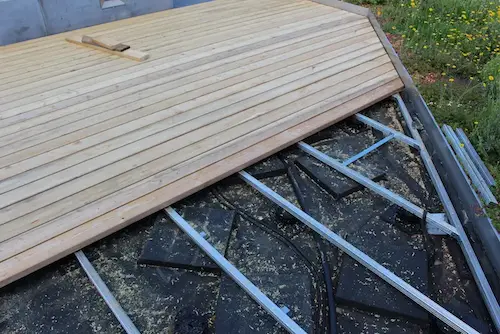
Part 3: for Elefeet® rail system (timber deck):
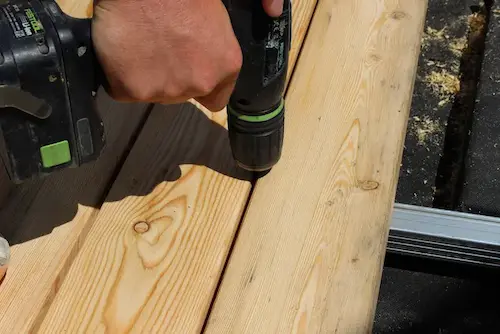
Align the decking boards on the rails. Screw the Terrace Screws vertically into the sub-substructure between two boards. Work with even joint spacing.

Place the decking board on the rail and insert the timber deck board center clamp between two boards in the groove. Screw the clamp to the rail. Pull the second board all the way in to create an even joint spacing. Insert the plank edge clamp timber deck at the edge or threshold.
Regularly check the installation height. If necessary, use the adjusting tool for Elefeet® to readjust the height.