
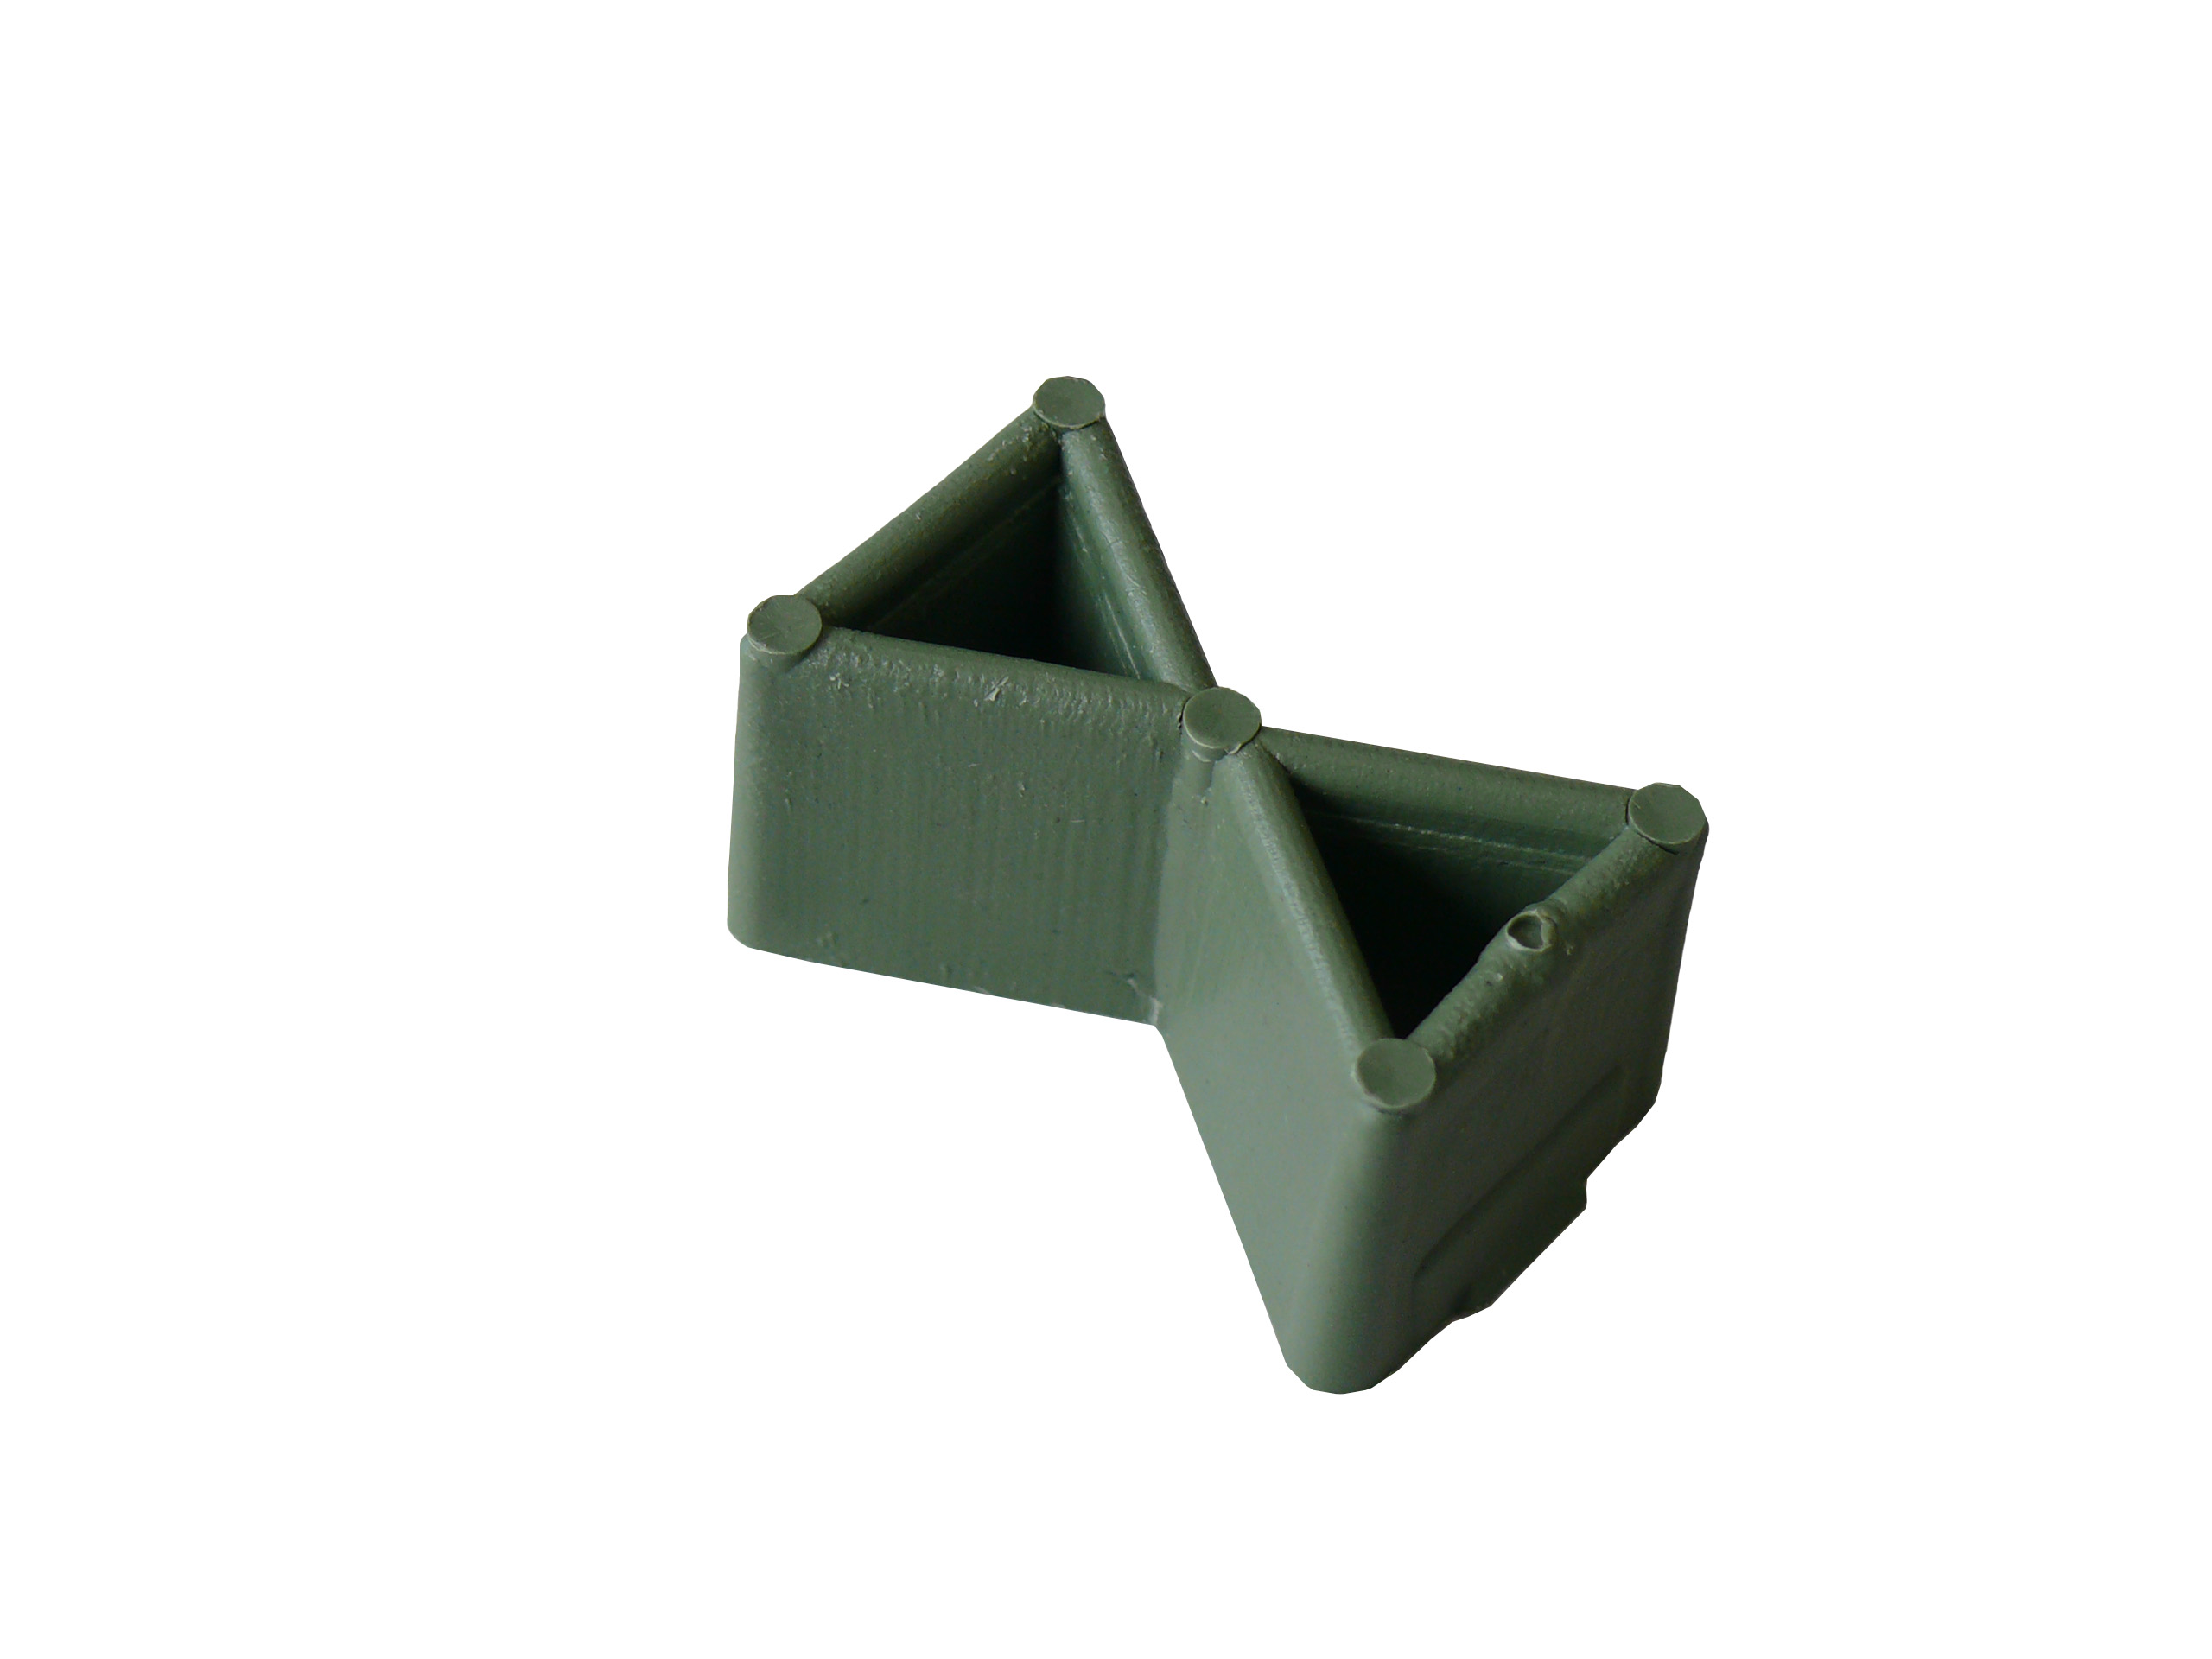
Zinco connector for retention spacer RSX , pack of 50 pieces
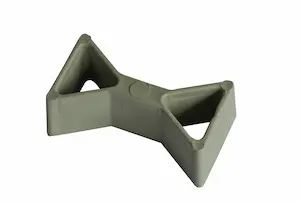
Plastic connector for fixing the RSX retention spacer.
Plastic connectors for fixing the RSX retention spacers, requirement 4 pcs./element corresponds to 11 pcs./m²
| Order Nr.: | 9622 |
|---|---|
| Colour: | Green |
| Material: | Polypropylene |
| Packaging unit: | Pack |
| Weight [g]: | 5.0 pcs. |
| Additional information: | Pack of 50 |
Plastic connectors for fixing the RSX retention spacers, deliver and install according to manufacturer's instructions.
Requirement 4 pcs./element corresponds to 11 pcs./m²
Product: ZinCo connector for Retention Spacer RSX
Unit: m²
Order Nr.: 9622
System components:
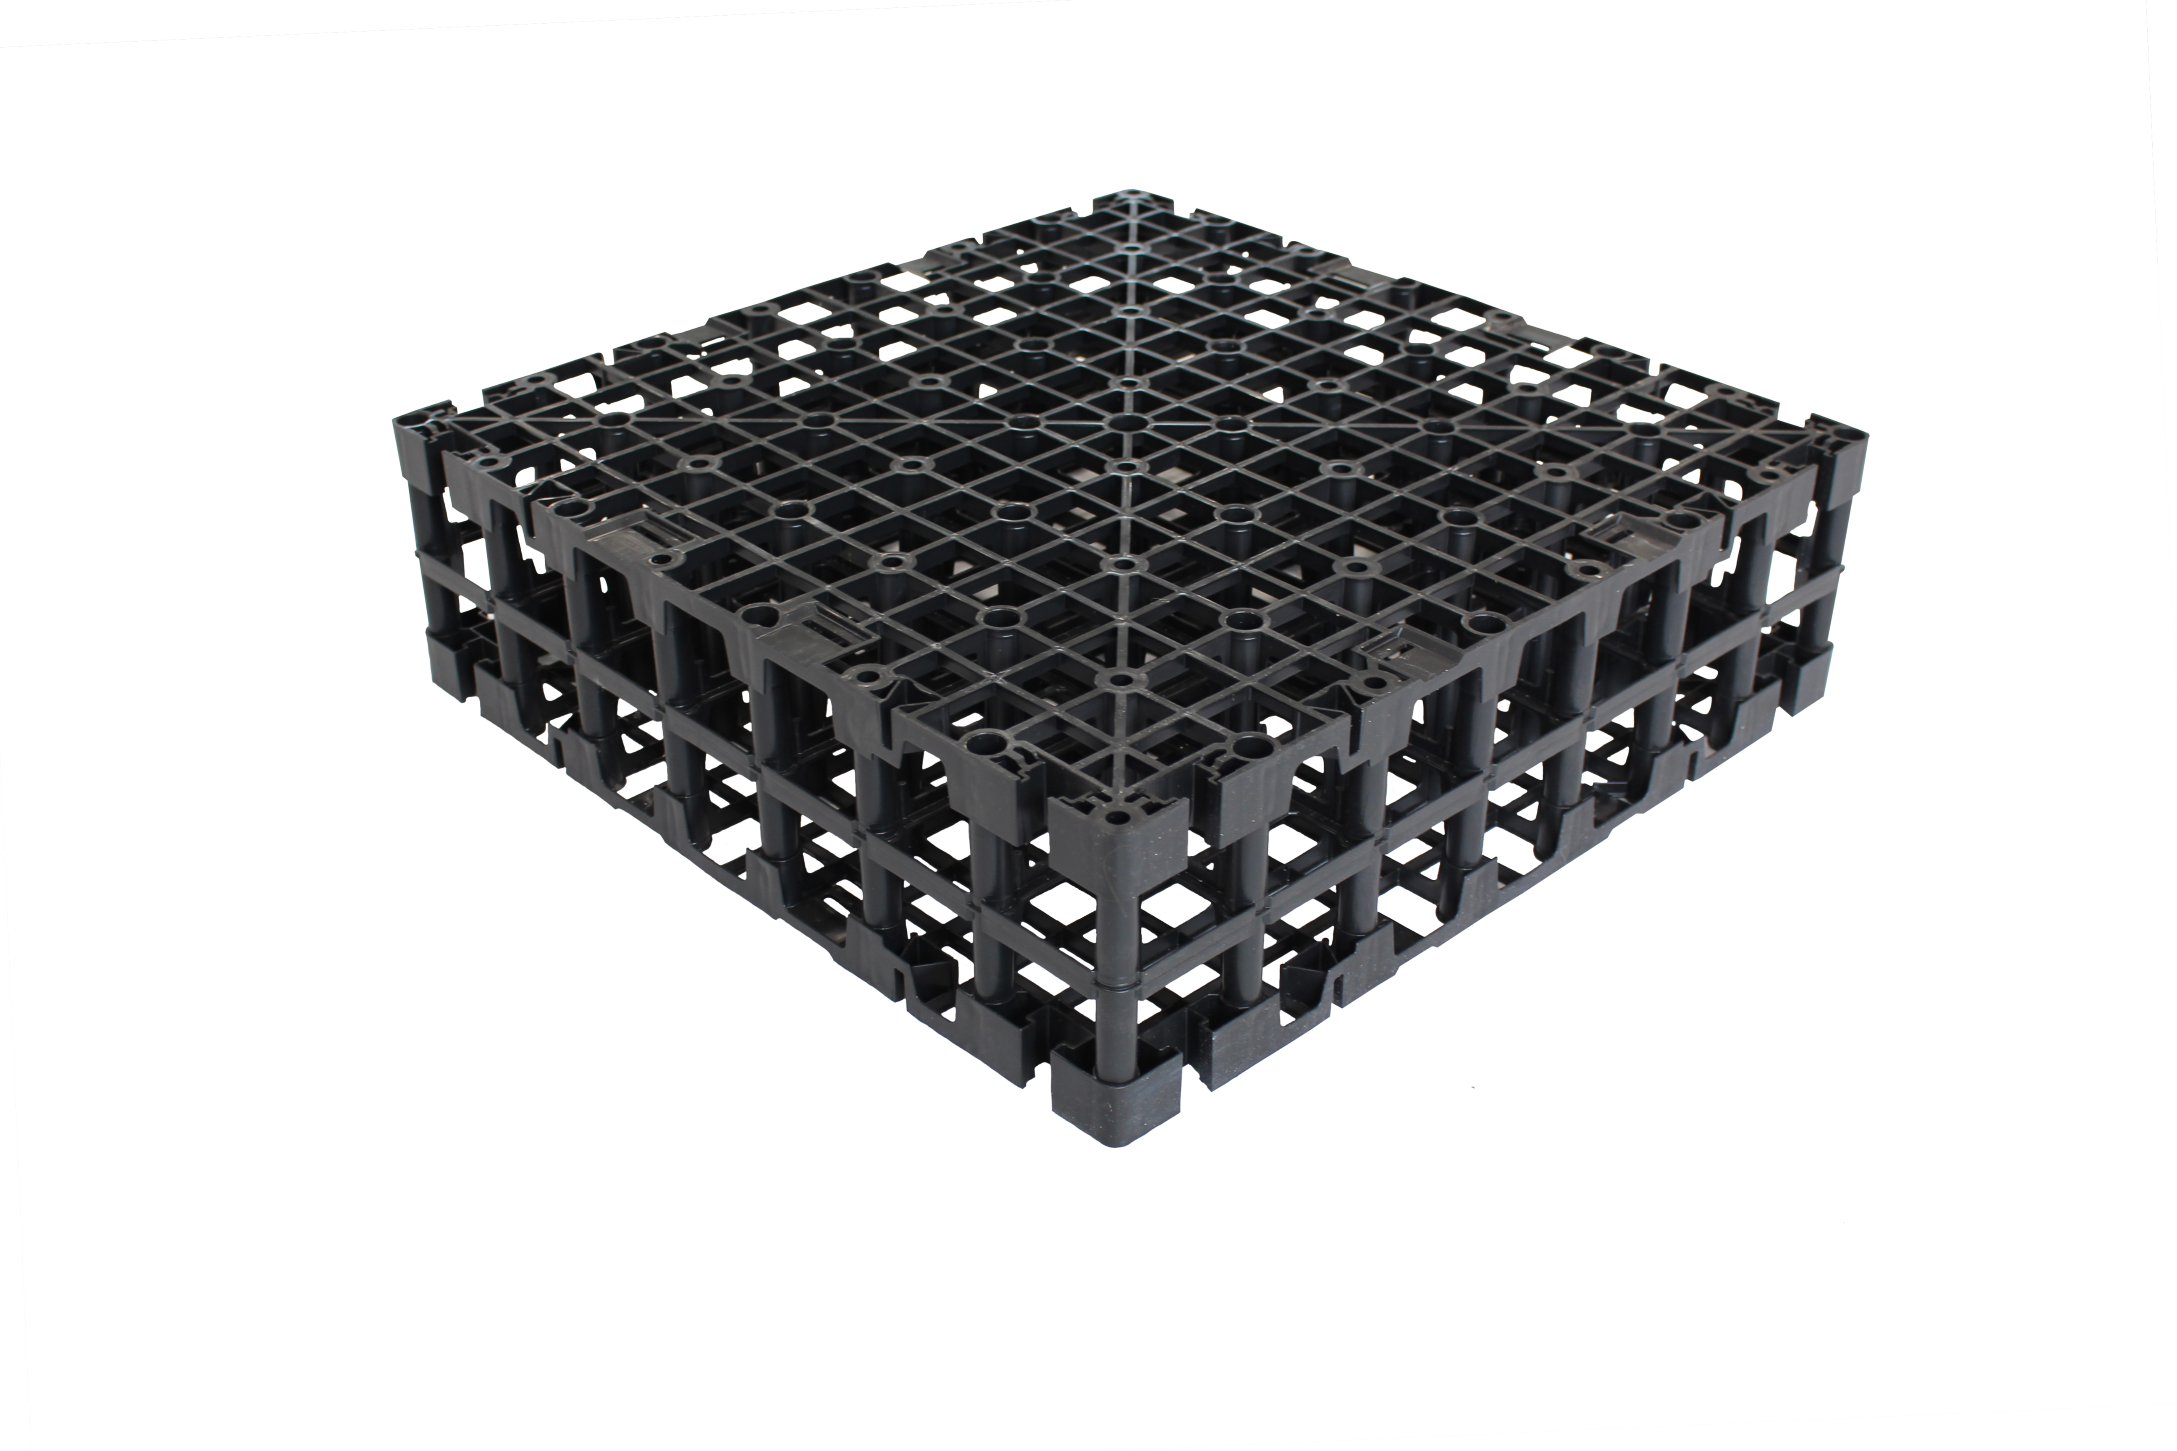
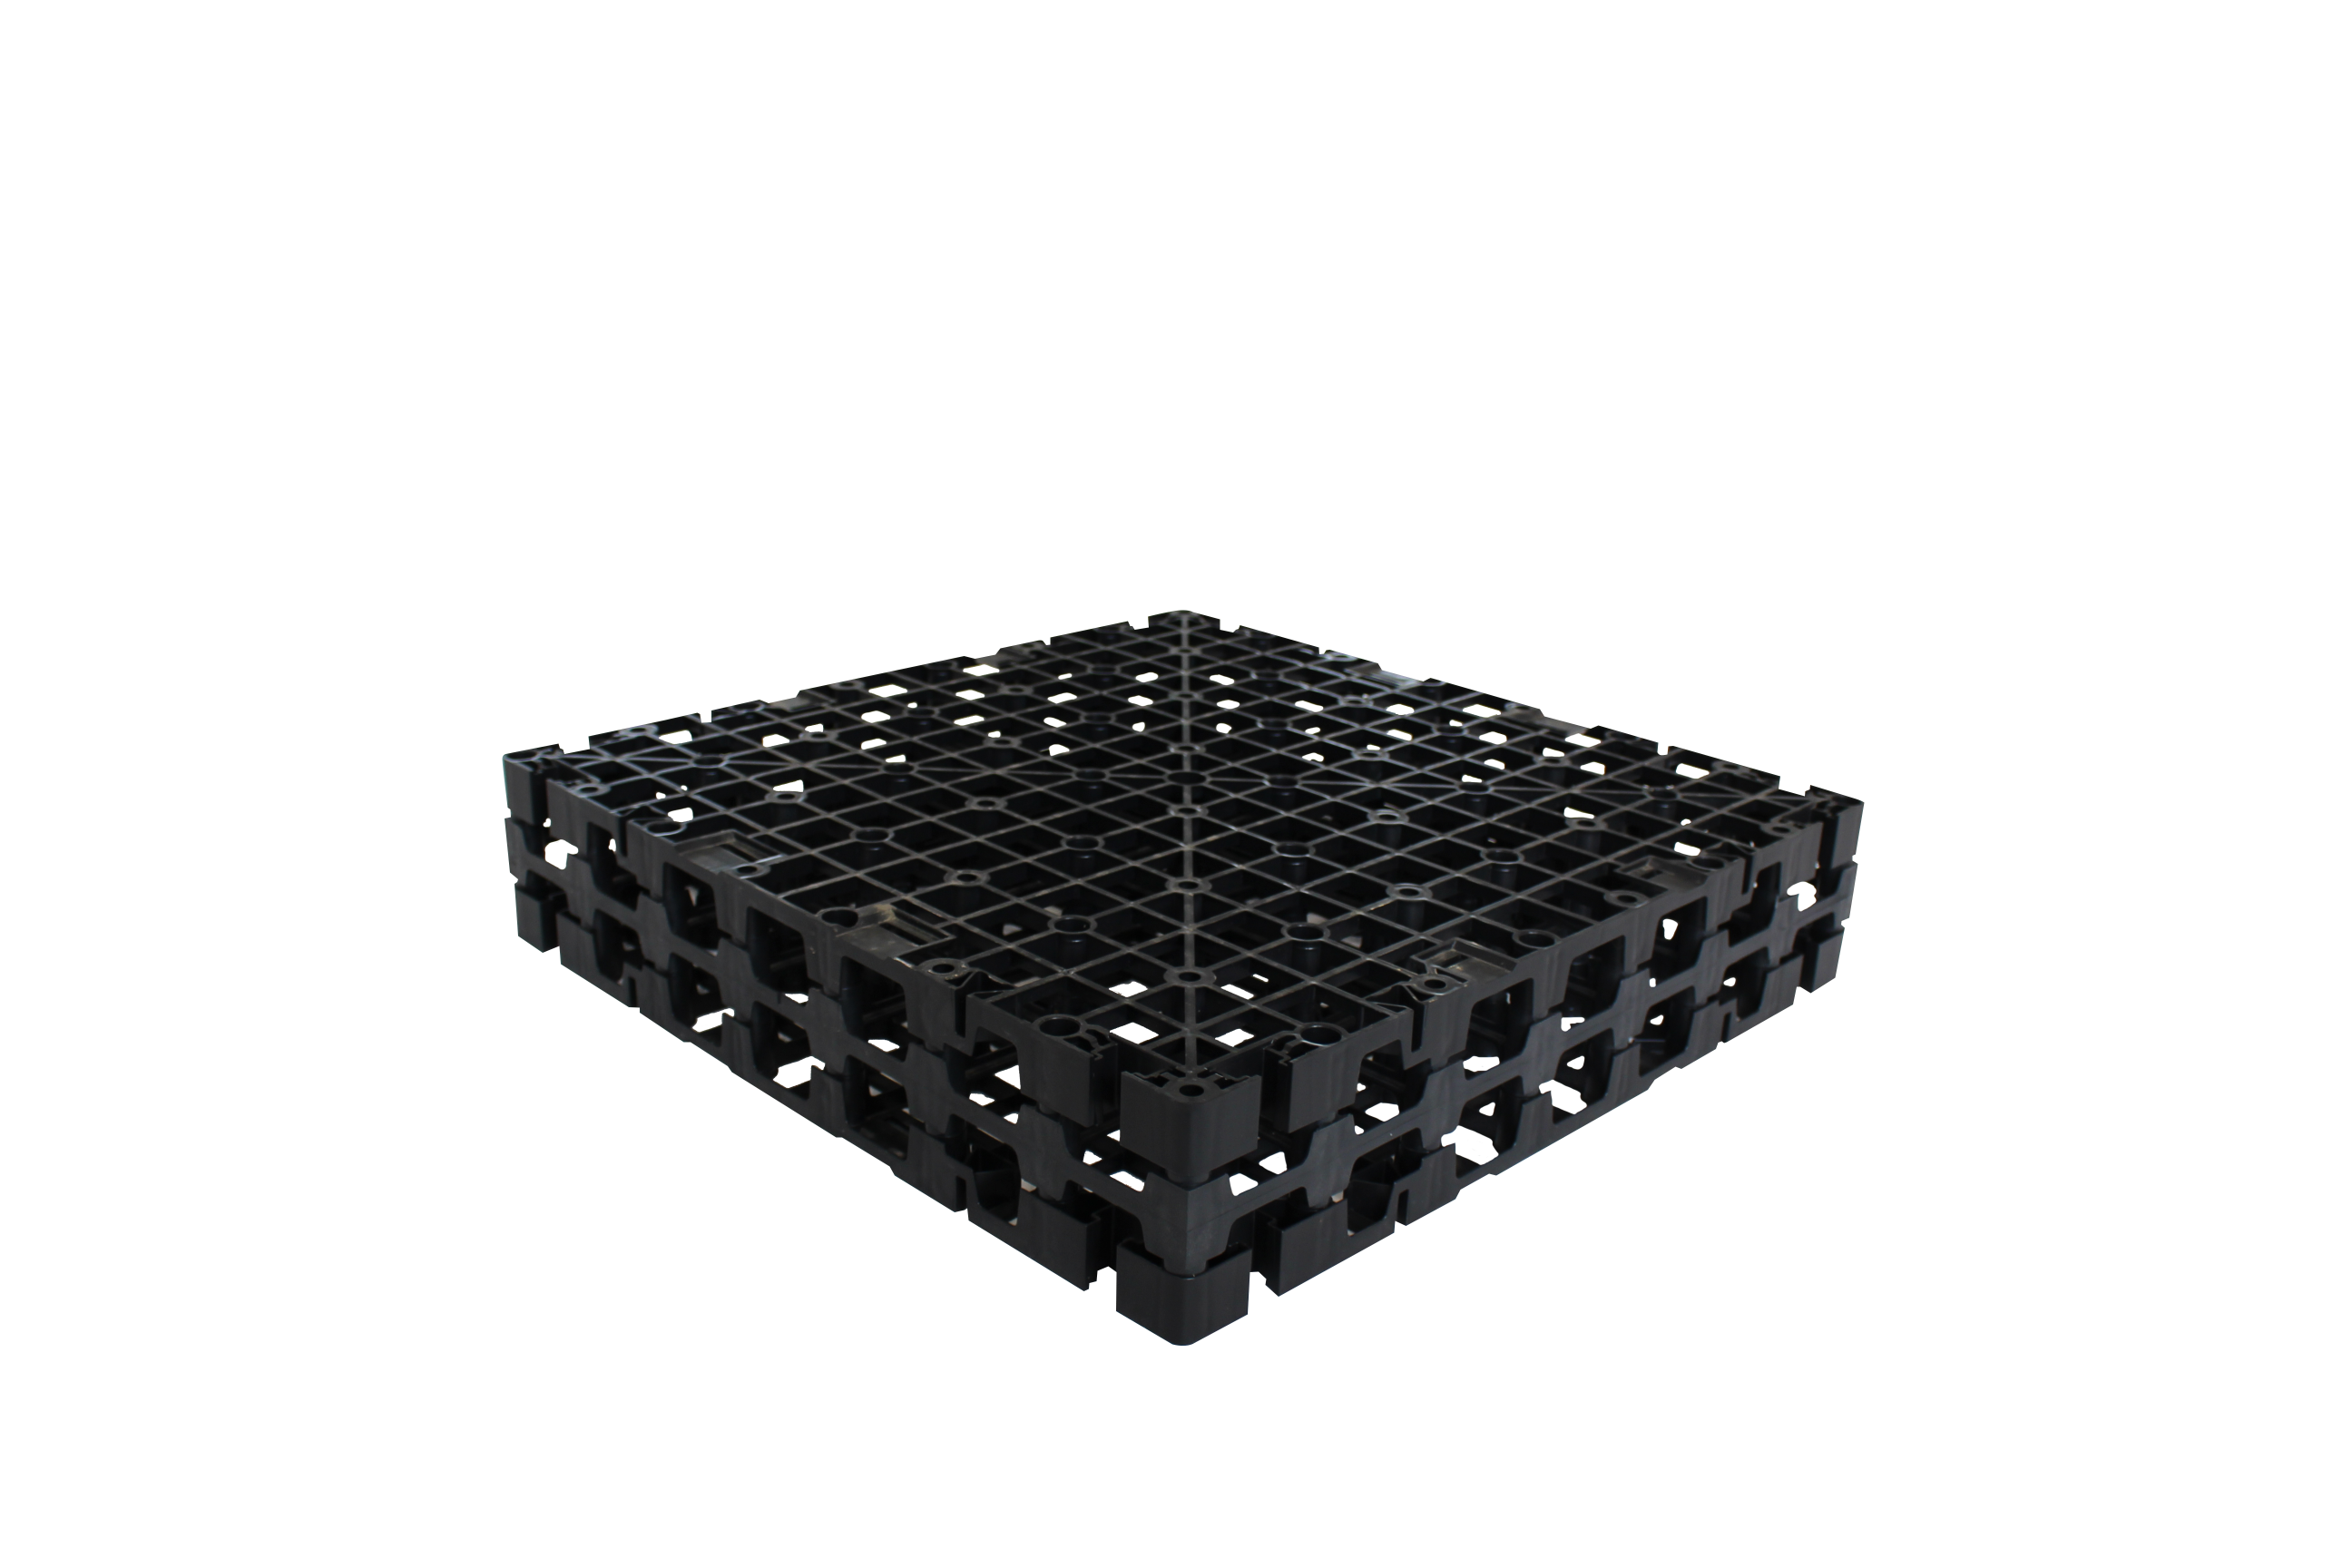
- HydroSpacer HS 170, Order No.: 341756
- Connector for Retention Spacer, Order No.: 9622
- Membrane Hydrospacer, Order No.: 2500
Installation:
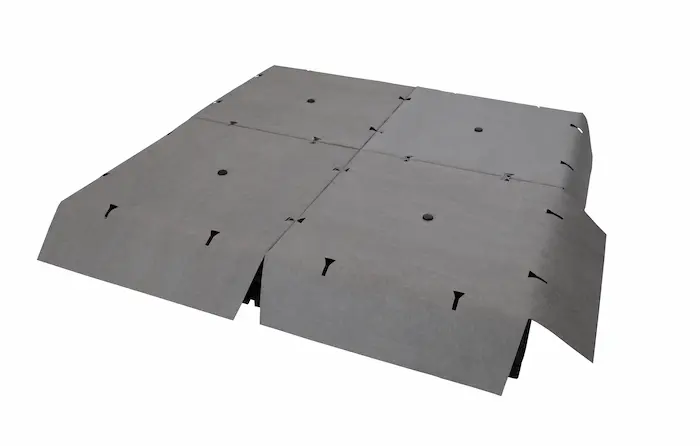
The Hydro-Spacer HS170 is laid side by side on a protective layer, e.g. the Filter Sheet PV, on the roof construction with root resistant waterproofing. Each Spacer element is covered with a capillary fleece. The capillary fleece is fixed in place with a plug to prevent it from slipping. If necessary, the Membrane can be laid wet.
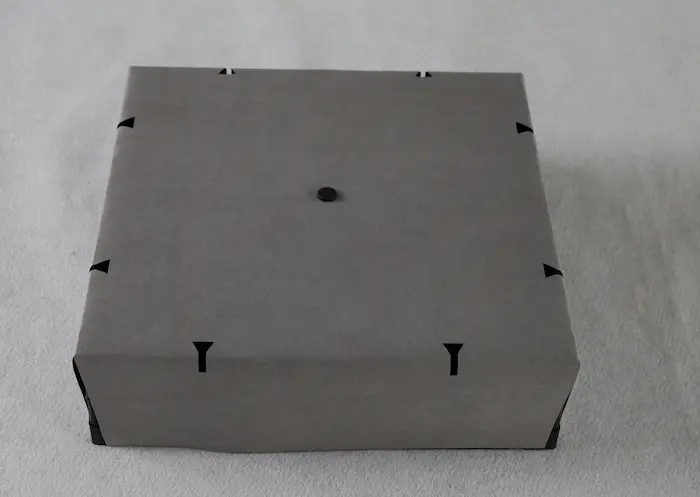
The protruding fleece flaps must be trimmed downwards. The next spacer can then be placed flush.
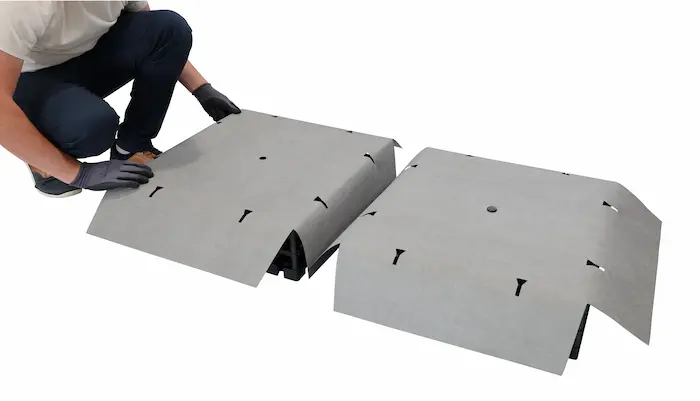
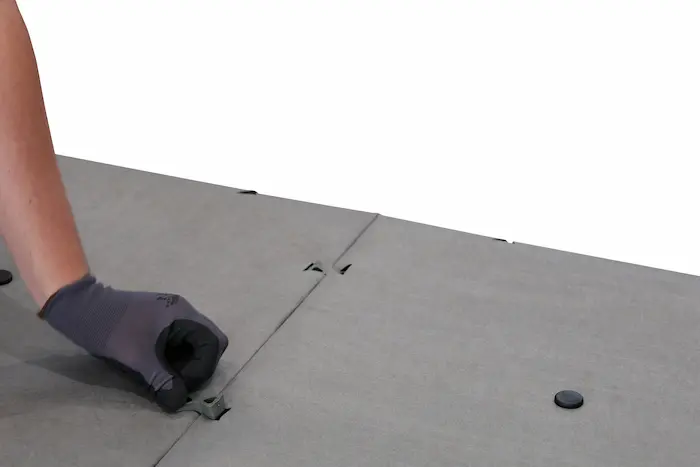
The individual spacer elements must be fixed in place with connectors. A rubber mallet can be used to press the connectors into the opening. If the spacers are to be driven over, it is advisable to secure them against slipping beforehand with four connectors per element. In this case, offset installation is not possible. If the HS spacers are to be installed in one piece over a length of more than 30 m, a 50 mm wide expansion joint must be installed.
The spacer elements can be cut with a cut-off grinder, an electric cutter or a hot wire. The spacer can only be separated at the connecting webs, otherwise the element will be too unstable. The HS elements must be cut out over roof outlets according to the outlet size.
When cutting, make sure that the already laid layers are not damaged! If damage occurs, it must be reported and repaired immediately.
This product is accessories from

Plastic connector for fixing the RSX retention spacer.
Plastic connector for fixing the RSX retention spacer.

Plastic connector for fixing the RSX retention spacer.
Plastic connector for fixing the RSX retention spacer.

Plastic connector for fixing the RSX retention spacer.

Plastic connector for fixing the RSX retention spacer.

Plastic connector for fixing the RSX retention spacer.